HancomGMD Video Recovery Solution ‘MD-VIDEO’
Rapidly growing needs of securing a safe environment, ‘Digital surveillance systems’ are everywhere. Hence, a significant number of new surveillance systems being installed each year, and the importance of acquiring data from these digital devices is being emphasized worldwide.
According to the recent article states that the number of surveillance videos recovered jumped 66% between 2017 and 2018. This proves and explains the video data is becoming critical more and more. Therefore, the solution to acquire these data complying with the digital forensic regulation shall give a great benefit to law enforcement.
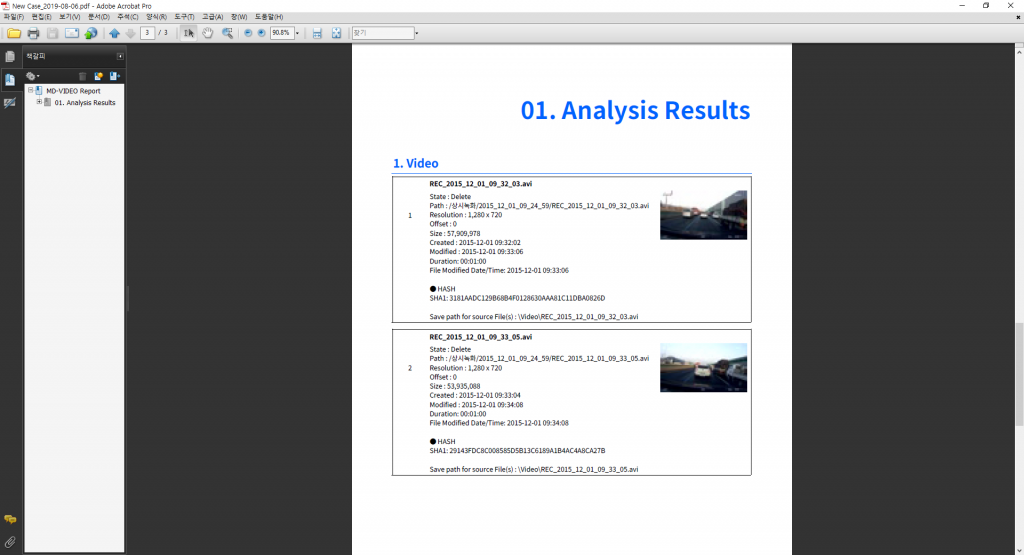
To investigate the epic scale of digital video data, supporting various media format is one of the top priority features for video forensic solution to secure. MD-VIDEO supports video taken from the global manufacturers’ IP-CCTV, Car dashboard camera, Smartphone, Desktop, Camera, Camcorder, Drone and Wearable device. Moreover, various DVR manufacturer’s filesystem such as HikVision, Dahua, Zhiling, Samsung, Bosch, Honeywell, Sony, and Panasonic are supported.
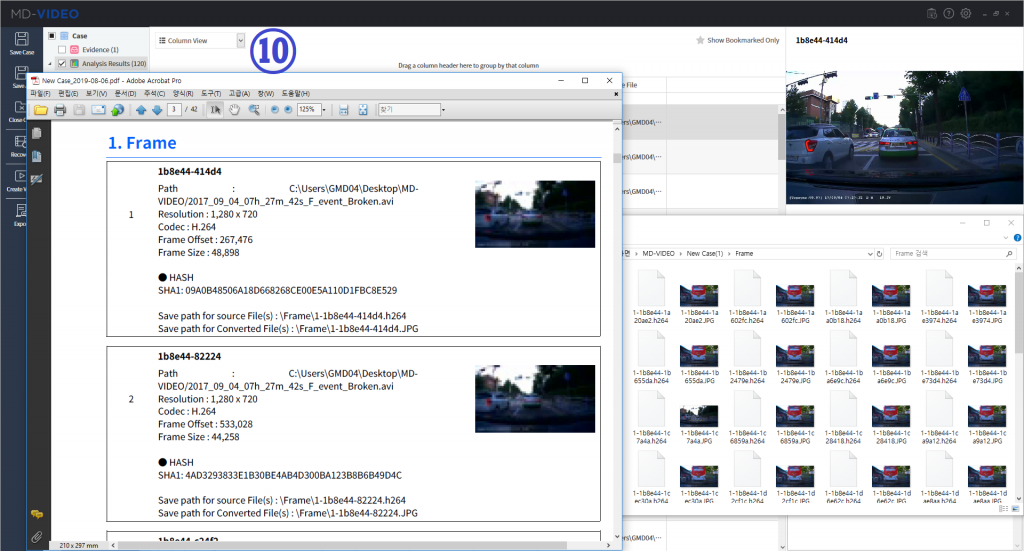
We are excited to introduce our video recovery solution ‘MD-VIDEO’, check the below acquisition and recovery sequences of Car Dashboard Camera. If you are seeking for ease of use tool and have dramatically improved digital video investigation, MD-VIDEO is a proved successful choice!
I. Data Acquisition Sequence Method – Disk Image Recovery
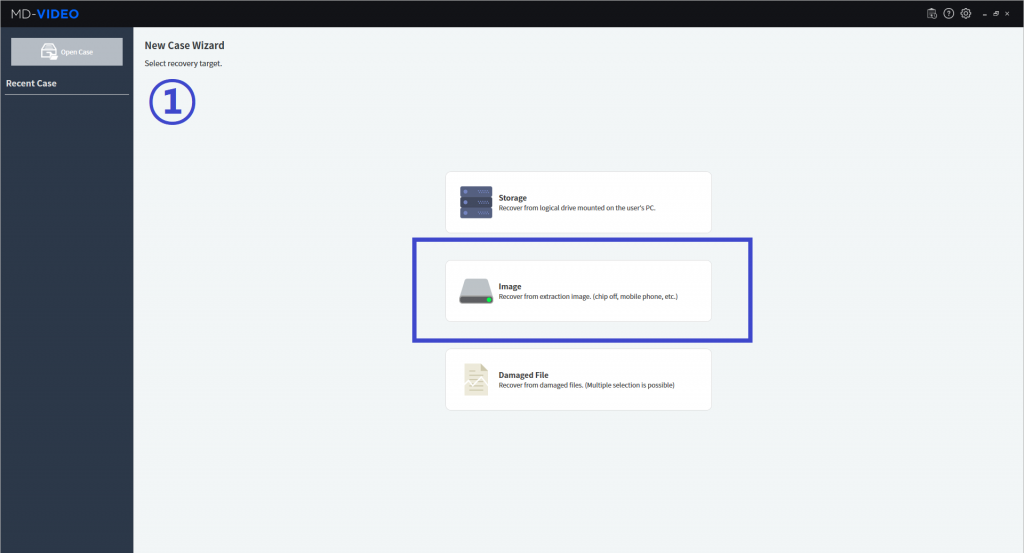
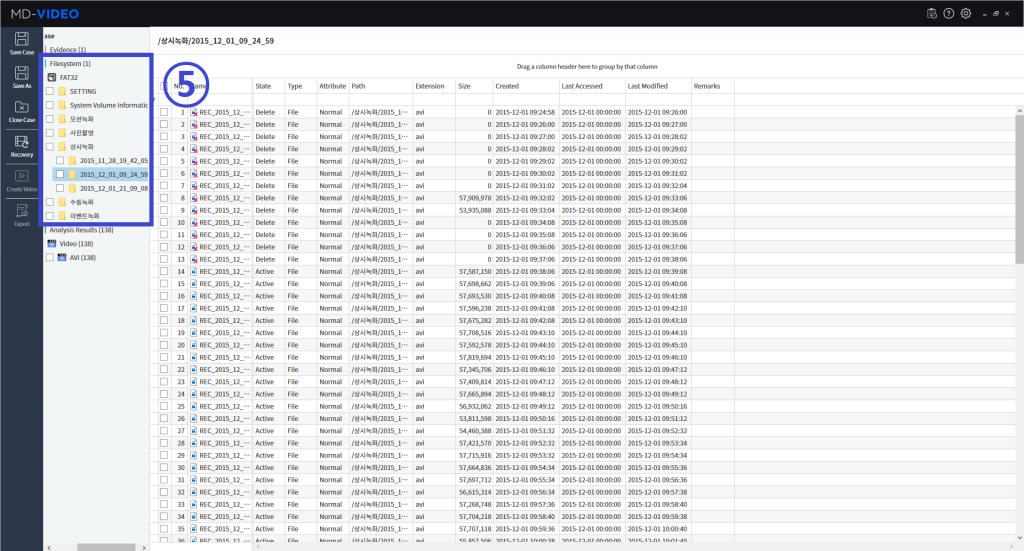
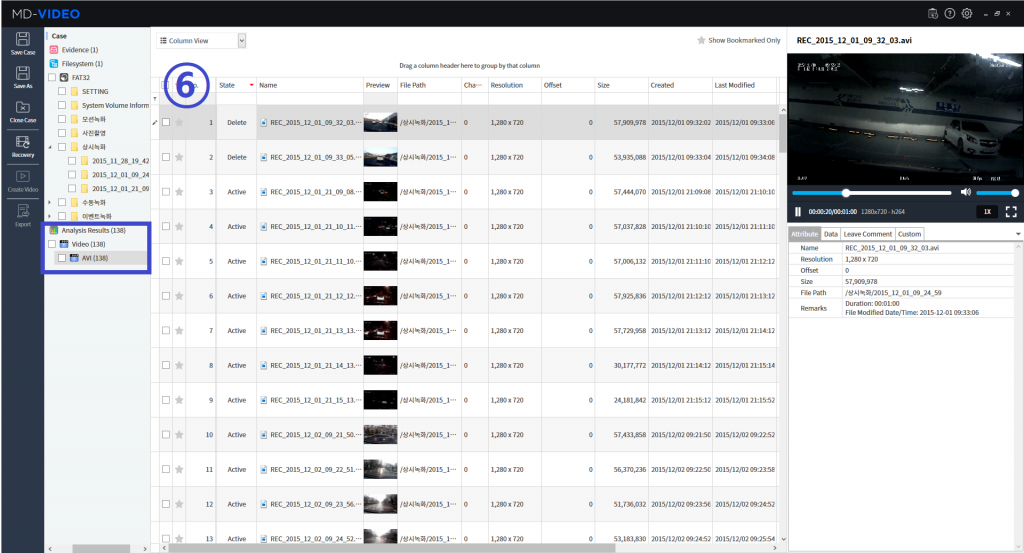
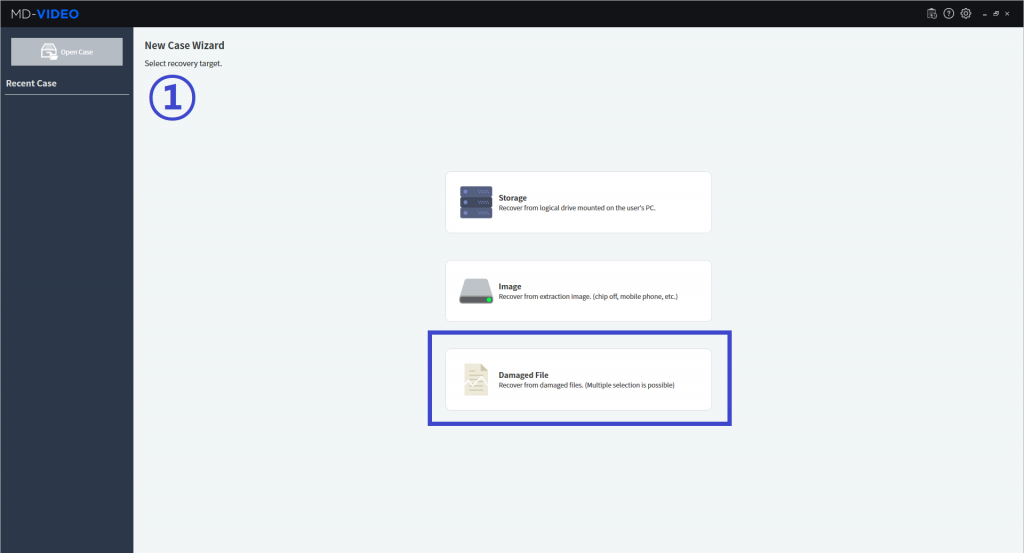
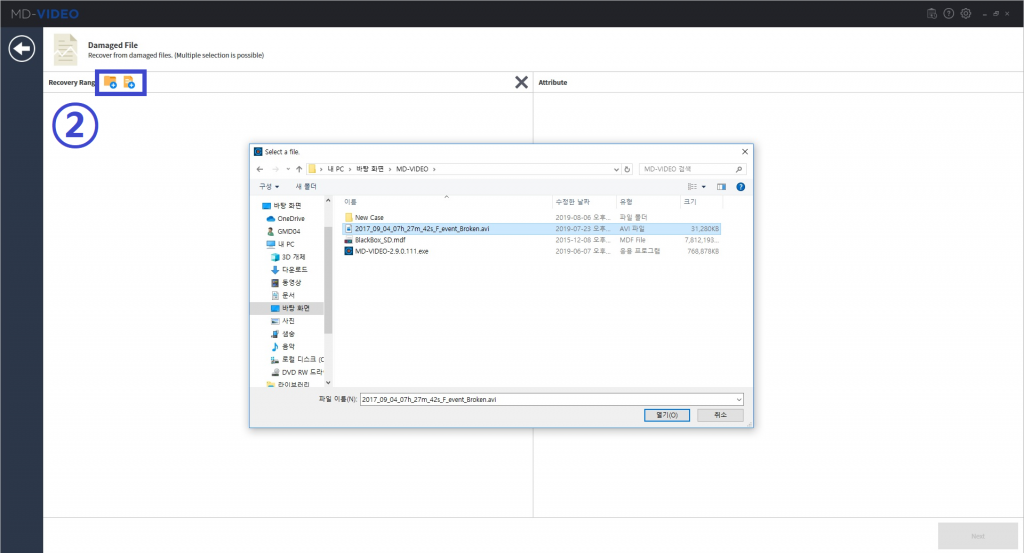
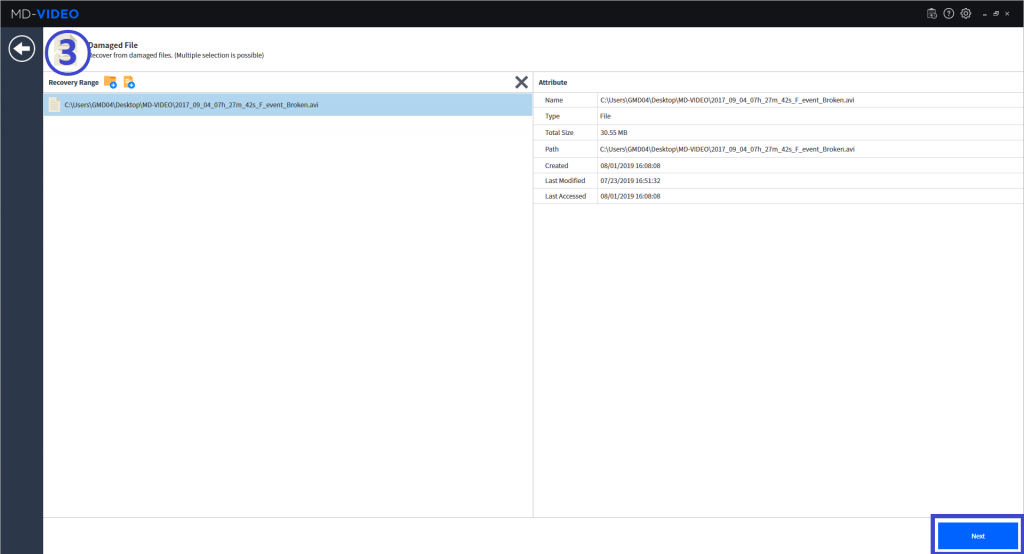
Step 1 Recovery Method Selection
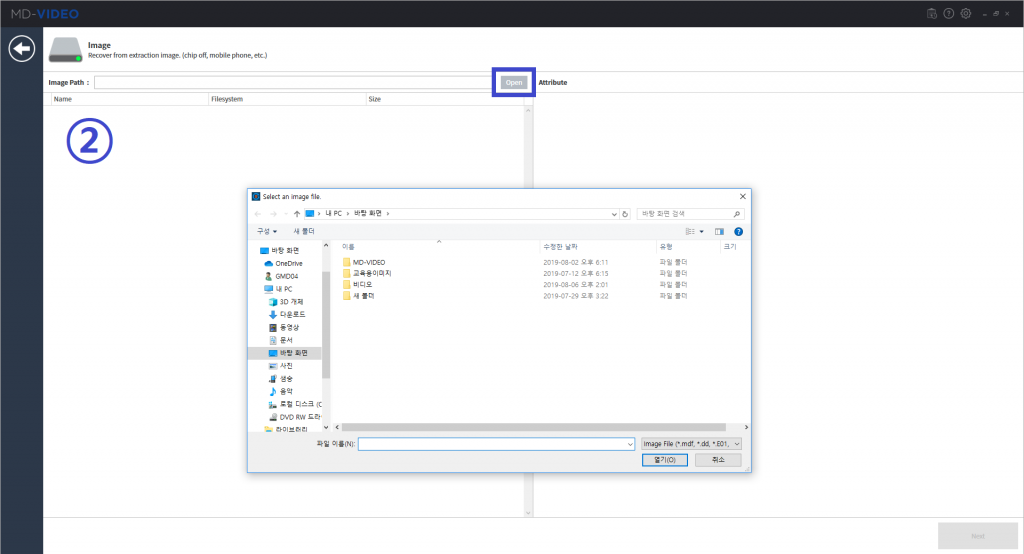
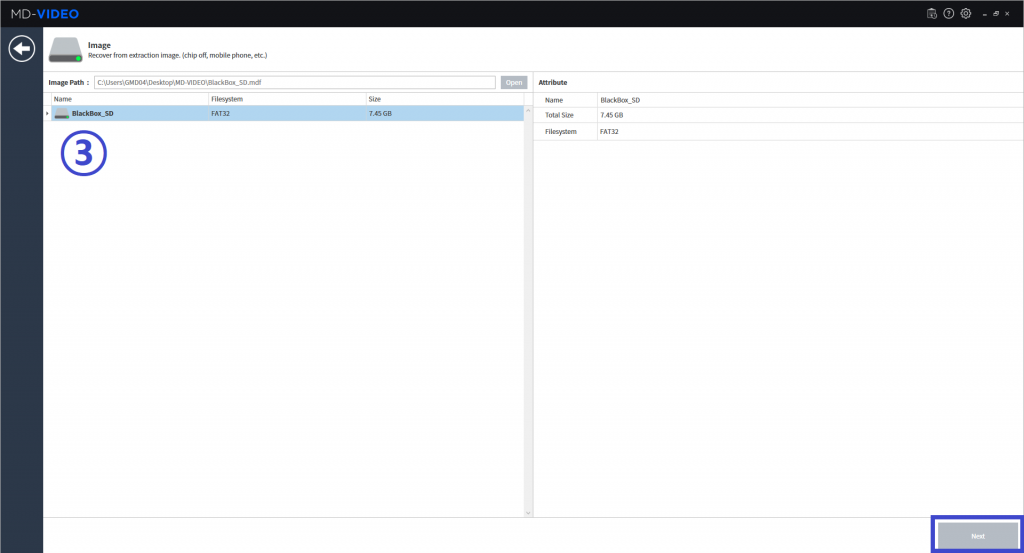
You can select the recovery target among three options, Storage, Image and Damaged file. We will select ‘Image’ option to recover video data from acquired disk image.